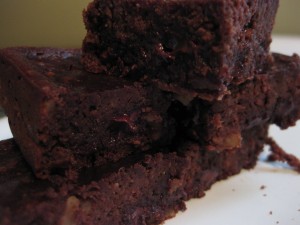
Part of being a shut-in means I get to do all those things you working folks wish you could do. Like try out new recipes or new and exciting ways to destroy my kitchen. Now I’m not a terrible cook, but I’m not amazing either. I’m kind your run-of-the-mill, everyday chick just trying to make sure we don’t live on Chipotle (not that there’s anything wrong with that.) I mostly cook basic, easy dinners, and I try to stick to the healthier options, but hey, once in a while you need dessert. What can I say. You won’t find me making any fancy wedding cakes or anything though. I’ll leave that to my friend Martha.
Anyway, now it’s time for a little segment I like to call, cooking with Jeni, or Housewife-y Cooking 2.0. In today’s segment I’ll be making these Butterscotch Bars from CookingLight.com.
Why did I choose them? I dunno, they got four stars on the site, and I was bored. Typical housewife pores through her recipe books to find Grandma’s prized recipe. I on the other hand, just google that shit until I find something good.
Usually I choose a recipe based on the ingredients. Do I have them? Yes, okay then I’ll give it a shot. No? Screw it.
On this day though, I decided to branch out, even though I did NOT have all the ingredients I needed. Which meant a bike ride to the grocery store. Does anyone really keep condensed milk anymore? I don’t.
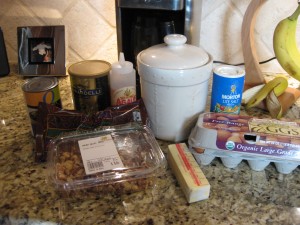
Once home I assembled all of the ingredients for easy access:
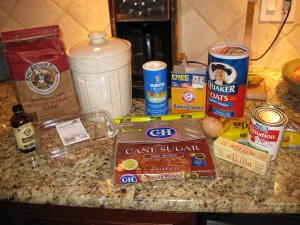
Let’s see, starting in the back we have whole wheat flour (I ended up using all whole wheat instead of white, which may have caused a problem, but more on that later), regular flour, salt, baking soda, oats, and the butterscotch chips, and then in the front is the vanilla, walnuts, brown sugar, one egg, butter, and of course our condensed milk.
Next up, bring the laptop in the kitchen for easy access to the recipe. No cute little cards for me. Although I do have those and I’m not against them.
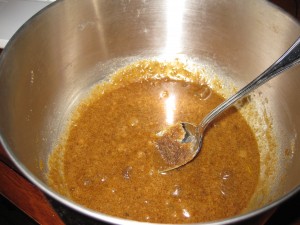
The first step was to mix the butter, sugar, vanilla and egg together. It turned out like this:
Then, we combine all of the dry ingredients: oats, flour, salt, baking soda
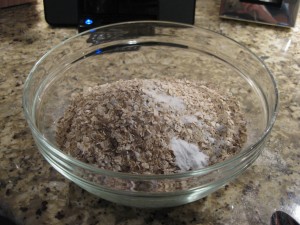
Looks like a nice little bowl of oatmeal doesn’t it?
Next up, mix the two together. Not so hard so far right? I should be on Top Chef.
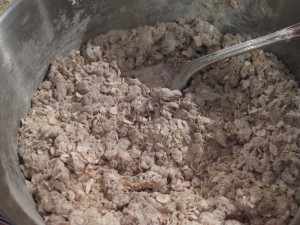
As you can see, it turned out to be this dry, crumbly sort of mix. I thought that was fine because that’s what the recipe called for, but I think the use of the whole wheat flour made it a little dryer than it would have been otherwise. Next time, I would definitely use more butter. As Paula Dean says, “WE NEED MORE BUTTER!”
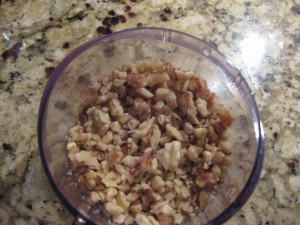
The next step is to press most of the mixture into the bottom of a well-greased 9×13 pan, as it will form the base of the bars. After that, we’ll add the butterscotch goo, which is a mix of the butterscotch chips and the condensed milk. Oh and the chopped walnuts, which I of course forgot to toast. Oh well it was too late at this point and we were going for broke.
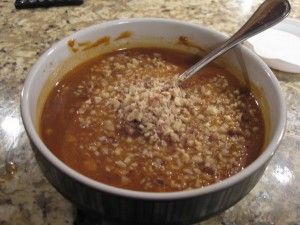
Now that looks appetizing doesn’t it?
After the layer of butterscotch goo goes into the pan, it’s time to add the rest of the oat mixture, “gently” pressing it down into place. It looks like this before it goes in the oven:
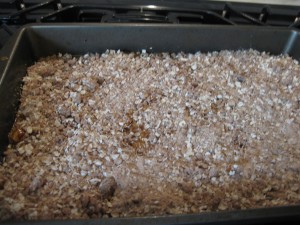
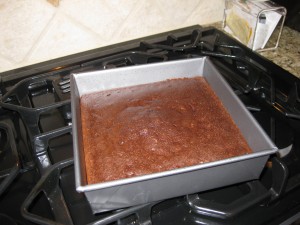
Bake at 350 for 30 minutes, and it looks pretty much exactly the same coming out:
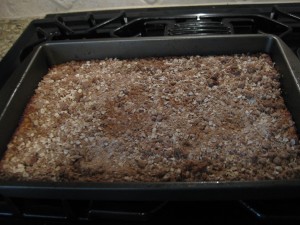
Sorry I didn’t plate them or anything. I guess that would have looked a little nicer. Maybe next time.
These turned out – okay – I guess. Not great. I’d give them 3 out of 5 stars, but that may very well be my fault since I used all whole wheat flour. According to the recipe, this pan makes 36 servings at 138 calories per bar. Well that is one tiny bar, so I’d say our servings have been more like 300 calories per bar. That said, they are relatively healthy due to the oats and of course the minimal amount of butter and sugar used.
WE NEED MORE BUTTER.
John likes them, and I guess that’s all that matters because he’s the one who has to eat them. Or gets to eat them I should say.
I think the main reason I don’t like them all that much is because they don’t have any chocolate. And what’s a dessert without chocolate?
If you do decide to try these out, make sure you click on the link above and follow the actual CookingLight recipe and not mine. They have a lot of additional instructions (like pre-heat the oven) that you’ll want to be sure and take note of.
Until next time…


 And plate!